Current Sensor with Arduino
- Kiranmai Chigurupati

- May 26, 2021
- 4 min read
Updated: Sep 15, 2024
We use many electrical appliances in our daily life. Have you ever wondered how much energy these appliances actually consume?. We think about saving energy while paying the electricity bill. But, to save energy we must first know how much energy is actually been utilized. To keep track of this, there are many meters available for this purpose. We know the power rating of all the electrical appliances in our home. If we find out how much current each of these is consuming at every point, then it is possible to find the energy consumed by the appliances. We can then conserve energy by optimal usage of appliances. Now, we can measure the current consumed by using a current sensor with Arduino UNO.
Hardware requirements:
ACS712 Range Hall effect Current sensor: The ACS712 current sensor can be used for precise measurements of both AC and DC currents. This sensor is based on the Hall effect and the IC has an integrated Hall effect device.

The ACS712 is a fully integrated, hall effect-based linear current sensor with 2.1kVRMS voltage isolation and an integrated low-resistance current conductor. It has three terminals viz., Vcc, output, and ground terminals. The Vcc terminal is an input pin. In case if we connect it with an Arduino, we give 5V or 3.3V as the input. Analog output will give analog voltage proportional to the current passing through the chip is developed. Apart from this, there is a power indicator LED present which will turn ON during the operation.
What is hall effect:

When a hall element is placed within a magnetic field, the magnetic flux lines exert a force on the semiconductor material which deflects the charge carriers, electrons, and holes, to either side of the semiconductor slab. As these electrons and holes move sidewards, a potential difference is produced between the two sides of the semiconductor material by the build-up of these charge carriers. The effect of generating a measurable voltage by using a magnetic field is called the Hall effect.
Arduino UNO:
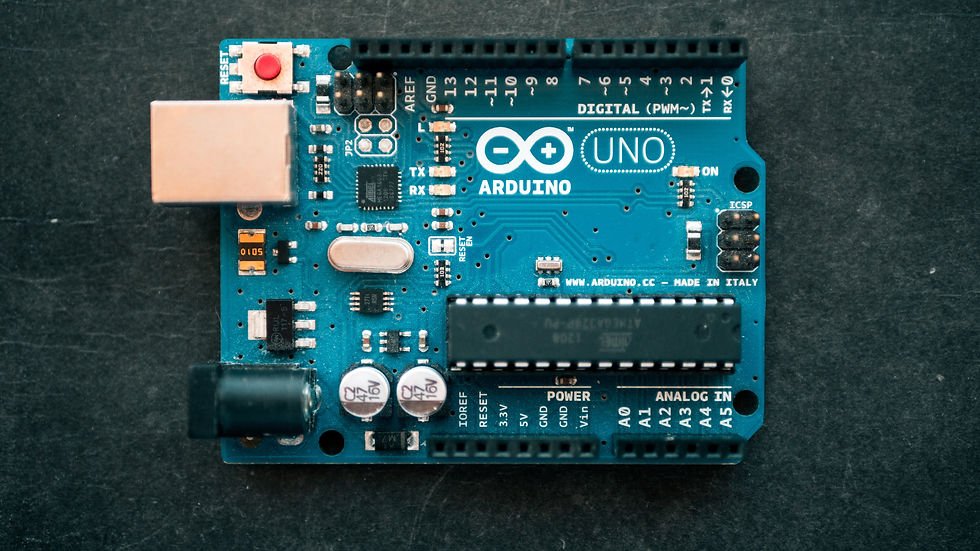
The Arduino is a programmable microcontroller, it's an open-source electronics proto-type platform. It interacts with the user by receiving input with the aid of sensors and provides the output employing LED, buzzer, etc.,
In order to know more about the Arduino UNO, refer to this article.
12V DC fan:

We use a 12V DC fan as the load.
Power supply:

In this project, we use a 12V battery since our load is 12V.
Jumper wires:

Jumper wires are used to establish connections between different components in the circuit.
Software requirements:
Arduino IDE:

The Arduino Integrated Development Environment (IDE) is a cross-platform application (for Windows, macOS, Linux) that is written in functions from C and C++. It is used to write and upload programs to Arduino compatible boards, but also, with the help of third-party cores, other vendor development boards.
Circuit connection:
Circuit connection involves the following steps:
We connect the power source with the load and load in series with the current sensor.
The microcontroller we use here is Arduino UNO.
Thus, the Vcc of the current sensor is connected to the 5V pin of the Arduino.
And the analog output pin is connected to one of the analog pins (A0 to A5) of the Arduino UNO.
The ground pin of the current sensor is connected to the ground of the Arduino UNO.
Code:
Working:

The circuit is connected as per the above instructions. After uploading the code to the Arduino UNO, the circuit is powered and according to the load consumption, the sensor value, adcvalue, voltage, and current values will be displayed on the serial monitor. As the load changes, the values are repeatedly displayed on the serial monitor.
Video By - Sowmya G
See also:


Content Written by-
Name - Kiranmai Chigurupati
Portfolio Link - click here
Order Electronics Projects
Want us to guide you through your project or make the project for you? Click on the button below or reach out to us via Call/WhatsApp at (+91) - 7600948607
You can -
Order Basic Electronics Projects
Order Embedded Systems Projects
Order IoT Projects
Order FPGA Projects
Order VLSI Projects
Order Image Processing Projects
Order Matlab Projects
Order TinkerCAD Projects
Order Proteus Projects
Click on the button below to fill out the project inquiry form -
Create Various Projects
Check out our Free Arduino Projects Playlist - Arduino Projects
Check out our Free Raspberry Pi Projects Playlist - Raspberry Pi Projects
Check out our Free TinkerCAD Projects Playlist - TinkerCAD Projects
Check out our Free IoT Projects Playlist - IoT Projects
Check out our Free Home Automation Projects Playlist - Home Automation Projects
Check out our Free NodeMCu Projects Playlist - NodeMCu Projects
Follow us -
Please do follow us i.e. #learnelectronicsindia to get daily updates about new blogs, videos, courses, products, offers, competitions, quizzes, and Internship Opportunities.
Informative and concise! LearnElectronics India always delivers quality content.
This blog from Learn Electronics India is an absolute gem! I've been struggling to understand how to use Current Sensors with Arduino, but your article made it feel like a breeze. Your practical examples and hands-on approach truly helped solidify my understanding of the topic. It's evident that you care about your audience and want to see them succeed in their electronic endeavors.