Controlling Esp8266 GPIO Pins using Telegram App
- nithya7rns
- Oct 29, 2020
- 4 min read

Updated: Jan 2, 2025
NodeMCU is a #WiFi module that allows us to connect to a network to transfer or exchange information online. It embeds an Esp8266 chip in it which is a WiFi microchip. Also, using messenger apps, the BOTs can be used for controlling a device.
In this article, we will explore how to connect the WiFi chip to a network and control the switching ON and OFF of an LED using the Telegram App. The control of LED is going to be done using the Arduino IDE.
Hardware List
The following components are used for building the circuit.
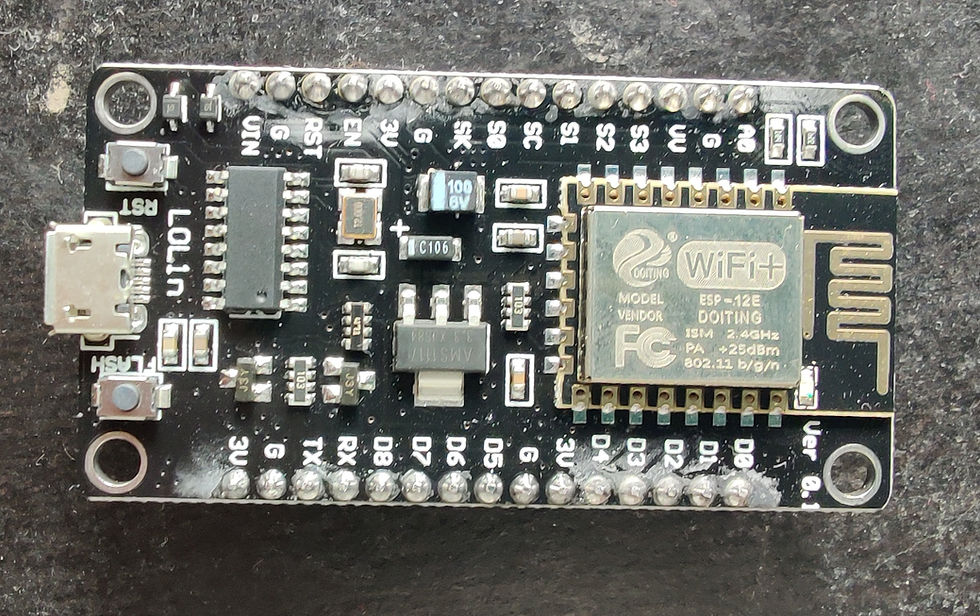
NodeMCU is a platform provided for #IoT. It basically includes firmware (computer software that contains instructions and controls the hardware) which runs on Esp8266 WiFi SoC (software on-chip). It is open-source firmware available for prototyping and developing kits. MCU means a Micro-Controller Unit. The device contains GPIO (General Purpose Input Output) pins which send and receives data on connection to other devices.
Esp12e module is also an SoC used for WiFi and is used in this project.
The specifications of the Esp12e module are:
32-bit lx106 RISC Microprocessor.
80MHz-160MHz, the adjustable clock frequency.
Supports Arctic OS(Operating System).
1 KB Internal #RAM.
4 MB External flash.
2.5V to 3.6V, 3.3V onboard.
600 milliAmp Regulator.
80 milliAmp Operating Current.
20 microAmp Current in sleeping Mode.
17 GPIO pins (which include ADC channels, 2 UART Interfaces, 4 PWM outputs, LED, Reset button, etc.).
Buy NodeMCU from here.
2. LED
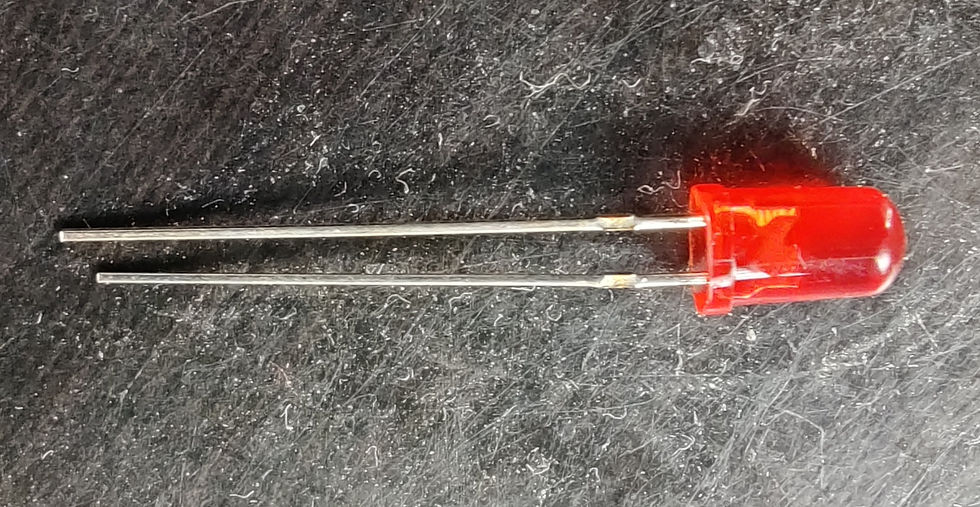
Light Emitting Diode is a commonly used light source. It is a semiconductor that emits light when current flows through it.
Buy LED from here.
3. Breadboard
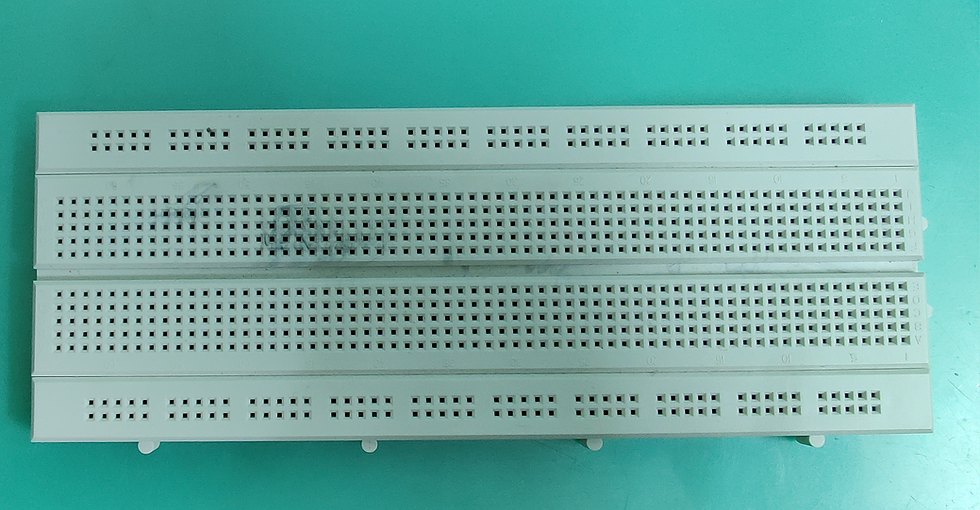
The breadboard is the basic component of any circuit building process. All components, be it input sensors or output display devices are connected to the #Arduino or any other microcontroller using wired connections through a breadboard. The holes in the breadboard are in series. There are various sizes like full-sized, half-sized, and mini breadboards.
Buy Breadboard from here.
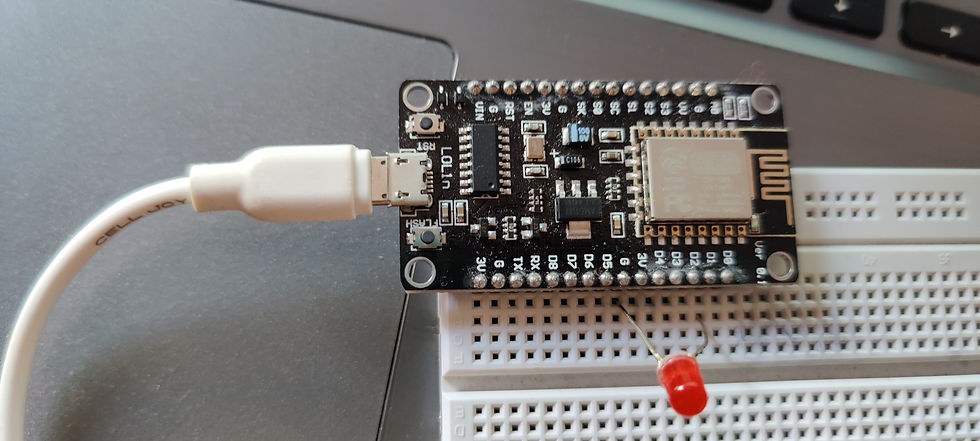
Circuit Diagram
The circuit diagram below shows the necessary connections of the NodeMCU device and LED through the breadboard.
The circuit connections for setting up this device is simple. The LED is connected to the breadboard. The positive(longer) #terminal of the LED is connected to GPIO pin 5 and the negative(shorter) terminal of the LED is connected to the GND(Ground) pin of the NodeMCU through the breadboard.
The NodeMCU is then interfaced with the Arduino IDE.
For reference, the Pin diagram of NodeMCU is shown below.

Code:
Note: Please change the file format to .ino(Arduino IDE) format before you upload the code to the #ESP8266 board.
Working:
The working of this circuit can be categorized as connecting, interfacing, and controlling.
The connecting part is when the circuit connections are done, the BOT is set up in the #Telegram App, a unique BOT name, id, etc are assigned. The same is reflected in the code used.
The interfacing part is where the BOT name and the device are synchronized, the device is connected to the desired network and the connection is established.
The controlling part is totally user-defined. Once the connection is established, statements can be executed by sending messages through Telegram BOT to start, turn ON, turn OFF, and know the status of the LED. The statements and their syntax is defined in the code and also shown in the video given below.
Check the project working video here - How to control an LED with ESP8266 and a telegram bot? | ESP8266 Projects | NodeMCu Project esp8266
Video By - Abhishek Goud
This article deals with the setting of the BOT in Telegram, #interfacing the device, and controlling the LED. The program has a wider scope wherein different devices can be interfaced with the BOT and made user friendly. For instance, the circuit designed for a parking lot can be interfaced with the BOT to note down the number of vehicles entering and leaving the place. There are many applications and a huge scope of development of this project, especially in everyday life.
SEE ALSO:
Order Electronics Projects
Want us to guide you through your project or make the project for you? Click on the button below or reach out to us via Call/WhatsApp at (+91) - 7600948607
You can -
Order Basic Electronics Projects
Order Embedded Systems Projects
Order IoT Projects
Order FPGA Projects
Order VLSI Projects
Order Image Processing Projects
Order Matlab Projects
Order TinkerCAD Projects
Order Proteus Projects
Click on the button below to fill out the project inquiry form -
Create Various Projects
Check out our Free Arduino Projects Playlist - Arduino Projects
Check out our Free Raspberry Pi Projects Playlist - Raspberry Pi Projects
Check out our Free TinkerCAD Projects Playlist - TinkerCAD Projects
Check out our Free IoT Projects Playlist - IoT Projects
Check out our Free Home Automation Projects Playlist - Home Automation Projects
Check out our Free NodeMCu Projects Playlist - NodeMCu Projects
Follow us -
Please do follow us i.e. #learnelectronicsindia to get daily updates about new blogs, videos, courses, products, offers, competitions, quizzes, and Internship Opportunities.
Learn Electronics India has nailed it with this blog. The way they break down complex concepts into simple steps is commendable. It's a fantastic resource for anyone interested in the intersection of electronics and modern communication apps.
LearnElectronics India simplifies complex concepts beautifully. Thank you!